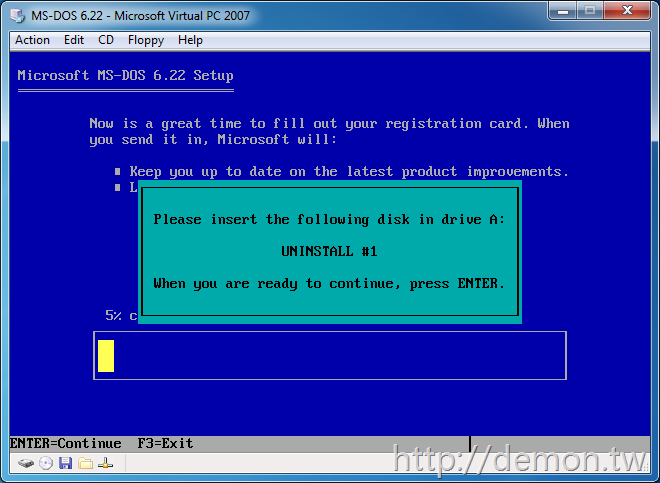
Ms Dos 622 3 Disk Download
The W2K Pro disks are zipped images from the MS CD. Al brooks trading price action reversals pdf 2017. Best bet is to download them, upzip them to a new folder where you also put makeboot.exe and makebt32.exe into and then run one of the makeboot utils depending on if you're in dos or windows to create the diskset. Or, one can use Winimage to just create a single bootdisk.
Installing DOS and Windows 3.x is relatively straightforward, though configuring both to perform the best they can can be a little more tricky. For this guide I’m using Oracle VirtualBox 5.1.4 (the latest at the time) on a Windows 10 machine. VirtualBox isn’t my first preference for emulation, however it’s free to obtain.
Windows 3.1 wasn’t technically an operating system in itself, though common perception is that it was. Unlike newer versions, Windows up to version 3.x would typically sit on top of some variation of DOS such as MS-DOS or PC-DOS which was the operating system. For this guide you’ll need to have: • Oracle VirtualBox installed • Disk images of MS-DOS 6.22 • Disk images of Windows 3.1 • ET4000 SVGA video driver • SoundBlaster 16 sound driver • CD-ROM driver • Microsoft Network Client 3.0 for MS-DOS • AMD PCNET network driver Setting Up the Virtual Machine Open up VirtualBox and select New. A Create Virtual Machine dialog box will appear allowing you to select which operating system it will be using for this virtual machine (VM). You may either select the Windows version as shown below, or type Windows 3.1 and the drop-down selection will automatically change.
After this, select Next. Setting up a new Windows 3.1 virtual machine. The following option now is to choose the amount of RAM. By default as Windows 3.1 had been selected, the recommended memory size is 32 MB. DOS and Windows 3.1 will happily run on the lowest option of 4 MB, though anything above 32 MB is considered overkill. For this, we will leave it as is.
Now the option is regarding a hard disk for the VM. As we don’t have one yet, we will select the Create a virtual hard disk now option and choose Create. Again as we’ve chosen Windows 3.1, VirtualBox has suggested the recommended size of the hard disk to be 1 GB. This is plenty. Alternatively you may select Do not add a virtual hard disk and create a hard disk to the desired size after the VM had been created.
Later in the wizard there’s also opportunity to change the size anyway. When creating a new hard disk VirtualBox provides three choices on the file type that is to be used for storing the data within.
For this we will just leave it on the default option which is VDI (VirtualBox Disk Image). Nevertheless there’s no wrong option here and largely depends on whether it will be ever used with a different emulator. Continuing with the hard disk VirtualBox allows you to select either a dynamically allocated or fixed size hard disk file. Again there’s no real wrong option here, they both have their pros and cons. For the purposes of this VM, choosing Dynamically allocated will be sufficient. Finally the last option is to choose where the hard disk file is to be saved, and the size of it. For a combination of DOS and Windows 3.1, the size can be as low as 40 MB however there won’t be anything really left for virtual memory and installing applications.
Anything above 2 GB and DOS won’t want to know about it as it’s a limitation of the original FAT file system. For a few apps and games a 550 MB disk size is comfortable but that’s up to you. Select Create. The wizard completes and you’ll see Windows 3.1 as an option that is currently ‘powered off’. Choosing the hard disk size – between 100 MB and 2 GB will be fine. The VM has now been created.
Oracea (doxycycline) is used to treat blemishes, bumps, and acne-like lesions caused by in adults. Tetracyclines are often used to treat infections, however this formulation has not been evaluated in the treatment or prevention of infections. Oracea is a tetracycline antibiotic. Otchet marketologa o prodelannoj rabote obrazec. It works by reducing skin inflammation caused by rosacea. Oracea may also be used for other purposes not listed in this medication guide.
Hitting Settings allows greater control of the ‘hardware’ configuration of the VM. Under Settings, I made the following adjustments: • System > Acceleration tab > Deactivate the VT-x/AMD-V and Nested Paging • Display > Scale Factor > Default is 100%, useful for enlarging low resolution output on our modern resolution displays if desired • Audio > Audio Controller > Use SoundBlaster 16 • Network > Adapter 1 > Use Bridged Adapter and ensure it’s a PCNET-Fast III • USB > Deactivate the USB controller (shown below). Removing USB from the virtual machine. Once settings have been looked at, click the Start button on VirtualBox’s toolbar. A window pops up attempting to boot the VM. Obviously it doesn’t get far as we haven’t installed any software yet. Down the bottom right corner is a row of icons that represent the components of the VM and whether it’s active or not.